Donations Settings
Use the Settings screen to set the starting month on which your Church begins accepting donations for the year. You can also set the day that your Church most commonly collects donations from its Givers, as well as the most common form of payment in which donations are made.
To access the Settings screen:
- Click Special Functions in the Button Bar at the top of the screen:
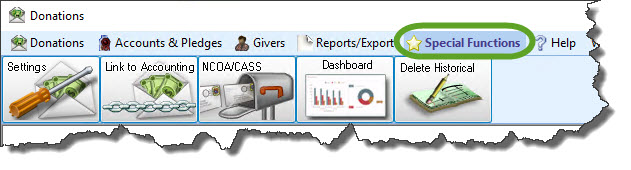
- Click the Settings button from the options that appear underneath.
Make your selections from any or all options described below. When finished click the Save button, or click Cancel to discard your changes.
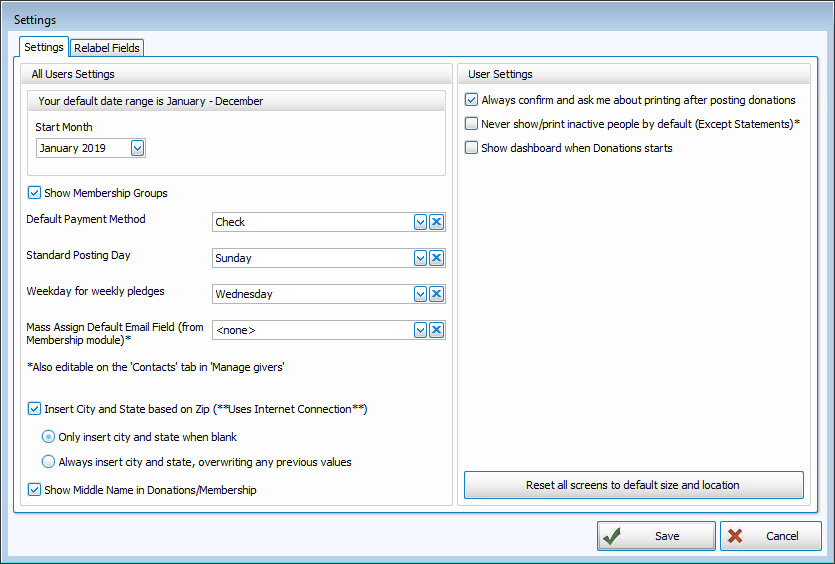
Settings tab
All User Settings
These setting selections on the right side of the screen affect the whole program.
- Your default date range is...
The Start Month sets the beginning and end of the Donations Year. Click the
 dropdown button and select the starting month in which your Church begins its Donations year and the default date range will adjust accordingly to show you when the year ends.
 - Show Membership Groups
Place a
 checkmark in this box if you want to show the Groups from Membership in Donations to track their giving.
 - Default Payment Method
Click the
dropdown button and choose the method of payment that you see as being most likely to be donated by a Giver to your Church. The payment method chosen here will appear automatically on the Enter Donations screen. - Standard Posting Day
Choose the day that your Church is most likely to accept donations from the Givers. By choosing a day here, you enable a message to warn you in the case where a donation is being posted on a day other than what is selected here on the Settings screen. You can change this date at any time. Click the
 clear button to empty the field, or choose the dropdown button and choose a day of the week.
 - Weekday for Weekly Pledges
Select the day on which the pledging begins for the week.
Note:
If you find that weekly pledges are showing 53 weeks instead of 52, change this to a different day. This usually occurs the year after a leap year. - Mass Assign Default Email Field (from Membership Module)*
The options in this dropdown box are based on the names of the email fields already set up in the Membership Module. If you would like to use a specific email field to Email Donations Statements, choose that field from this box. Then choose between having this setting applied to all Givers, or just the ones that have only Givers with no email selected. In order for this to work, you must Setup Email first.
*Also editable on the 'Contacts' tab in 'Manage Givers' -
Insert City and State based on Zip (**Uses Internet Connection**)
If you would like Church Windows to expedite your data entry process by automatically populating the City and State fields for an address based on its Zip Code, check this box and then use the
 radio button select either:
- Only insert City and State when blank
- Always insert City and State, overwriting any previous value
Remember, you must be connected to the internet in order for tool this to function.
- Show Giver Middle Name
Place a
checkmark in this box if you want to show the middle name for the Giver on screens and reports.
User Settings
These settings on the right side of the screen are unique to each of the Users in your database
- Always confirm and ask me about printing after posting donations
Check this box if you want Church Windows to automatically give you the option to print a report after your make a posting.
- Never show/print inactive people by default (Except Statements)*
This setting determines if Donation Reports will automatically include or exclude people that you have marked as deceased, left the area, etc. using Inactivate Records. However, Donation Statements will always include Inactive records by default.
- Show Dashboard when Donations starts
Check this box if you would like the Donations Dashboard to open as soon as you open the Module.
If you are unable to see certain windows or need to reposition windows to view them more easily, click the button to Reset all screens to default sizes and locations.
Relabel Fields tab
Place a Custom Label next to the Default Label for any label in the list that you would like to change to something other than what shows as the default.

For example, you may prefer to refer to Giver numbers as Envelope numbers. This is where you would make that change so that throughout the program it says Envelope # instead of Giver #.
